
This also applies to cable, chain, and webbing.
Gear that is anchored includes anchors, rocks, trees, tripods, trucks, etc.
A "bight" is a simple loop in a rope that does not cross itself.
A "bend" is a knot that joins two ropes together. Bends can only be attached to the end of a rope.
A "hitch" is a type of knot that must be tied around another object.
"Descending devices" (e.g., ATCs, Brake Bar Racks, Figure 8s, Rescue 8s, etc) create friction as their primary purpose. The friction in descending devices is always considered when calculating forces.
The "Safety Factor" is the ratio between the gear's breaking strength and the maximum load applied to the gear (e.g., 5:1).
The AZTEK pulley system is a pre-rigged, mechanical advantage kit.
At its core, the AZTEK is comprised of two double-pulleys with integrated Prusiks. The specific components in the system vary based on the distributer (i.e., CMC Rescue, Rock Exotica, Sterling Rope, etc), but the common elements are the two Rock Exotica AZTEK pulleys which have side-beckets and an attachment point for the Prusiks.
The easiest way to use the AZTEK system in vRigger is to copy and paste the system. This page explains how to assemble the AZTEK system in vRigger using the individual components.
The easiest way to add AZTEK gear to the workspace is to click on the workspace and type "aztek". (If the AZTEK gear isn't shown in the gear finder, click the More Gear button to launch the Gear Manager.)
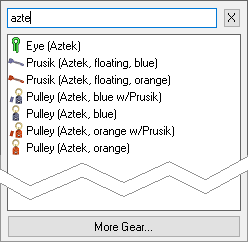
As shown above, vRigger includes seven components to create AZTEK systems.
Add the rope eye, one of the floating Prusiks, one of the pulleys that has a Prusik (i.e., "w/Prusik"), and one of the pulleys that doesn't have a Prusik.
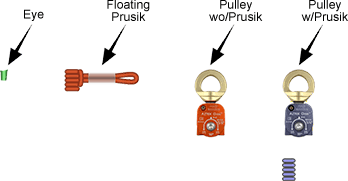
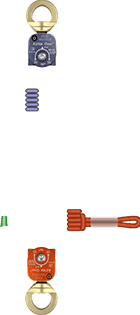

It can be challenging to grab the tiny rope eye when the eye is already selected because the sizing handles obscure it. It is helpful to either first zoom in on the eye and pulley (as shown above), or to click elsewhere on the workspace (to unselect the eye) and then click and drag the eye.
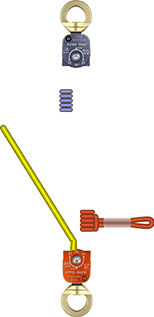
Depending on the rotation of the eye, the rope may not line up perfectly with the eye. That's an unfortunate quirk that shouldn't be as noticeable when the system is fully reeved.
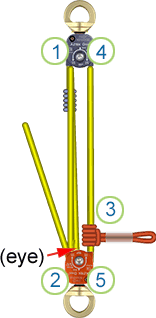
The floating Prusik is obviously optional. You can skip it (or add it later) if you want.
You might find it helpful to add a hand and then use rope benders to show that the tail of the rope is untensioned.
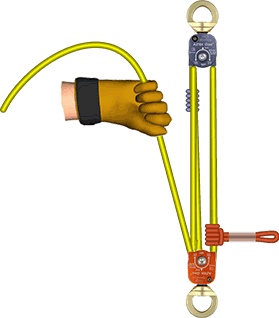
The AZTEK system is often rigged with the tail anchored, a personal Purcell Prusik, lanyard carabiners, etc. This illustration shows some of those possibilities. (We used slack points and changed the drawing order to polish this rigging system.)
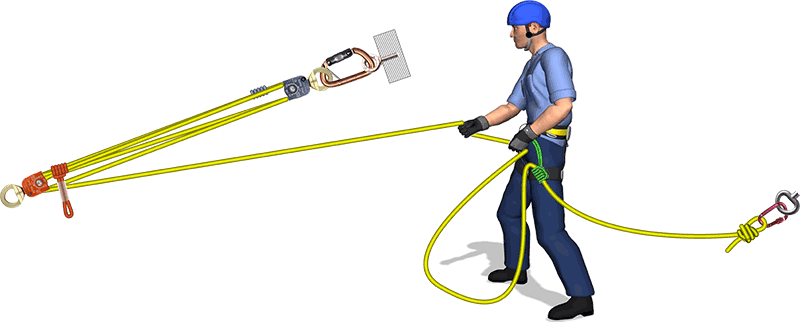
The ropes route themselves through the pulleys which can result in twists. That's similar to the real world. Sometimes you can resolve twists by right-clicking on the rope, choosing Disconnect All Gear From Rope, and then re-reeving the rope through the pulleys. Sometimes the twists go away when you copy the workspace and paste it into other software (or save the workspace as an image file). And as a final resort, you can add slack points to the ropes and position the slack points near where you want the ropes to enter the pulleys.
The pulleys that have Prusiks attached are not treated as ratchet devices by vRigger (as defined on the Ropes page in the Gear Builder). This was done so forces can be calculated in a wide variety of configurations. If you want these pulleys to support the forces using the Prusiks, you can set the pulley's friction to 100%.