
This also applies to cable, chain, and webbing.
Gear that is anchored includes anchors, rocks, trees, tripods, trucks, etc.
A "bight" is a simple loop in a rope that does not cross itself.
A "bend" is a knot that joins two ropes together. Bends can only be attached to the end of a rope.
A "hitch" is a type of knot that must be tied around another object.
"Descending devices" (e.g., ATCs, Brake Bar Racks, Figure 8s, Rescue 8s, etc) create friction as their primary purpose. The friction in descending devices is always considered when calculating forces.
The "Safety Factor" is the ratio between the gear's breaking strength and the maximum load applied to the gear (e.g., 5:1).
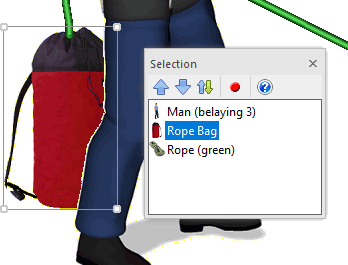
When you add objects to the workspace, vRigger automatically determines which items should be drawn in front of other gear. For example, vRigger drew this rope bag in front of the man.
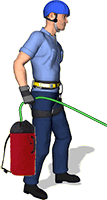
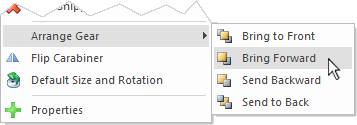
Although the automatic arrangement works well in most cases, you can use commands in the Arrange group on the Home toolbar to change the drawing order (i.e., the "layering") of the gear.

To change the arrangement of the gear, select one or more items and choose an arrangement command.
You can also right-click on an item to display its shortcut menu and then choose a command.
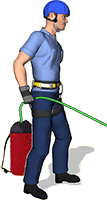
In this next illustration, the rope bag was moved behind the man using the Send to Back command.
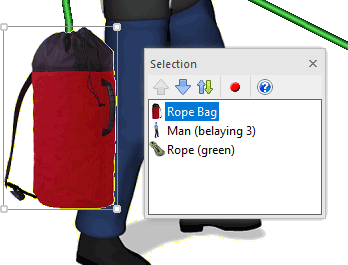
Clicking the Selection Pane button in the Arrange group on the Home toolbar displays the selection pane.

The selection pane shows the drawing order of the gear. Gear that is displayed in front of other gear is listed near the top of the selection pane and gear that is displayed behind other gear is listed near the bottom of the pane.
In this next illustration, the rope bag is displayed in front of the man because it is listed at the top of the selection pane.
In this next illustration, the rope bag was moved below the man in the selection pane and it is now drawn behind the man.
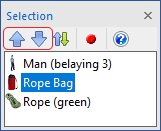
You can rearrange the selected items in the selection pane by clicking the Move Up and Move Down buttons in the pane's toolbar.
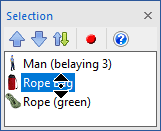
You can also rearrange items in the selection pane by dragging them with your mouse.
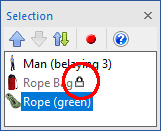
When an item is locked, a padlock appears next to the item's name in the selection pane and the item cannot be selected or rearranged. You can click on the padlock to unlock it.
When moving ropes forward or backward, you should first click on the rope and then click one of the arrangement buttons. This will highlight the rope in the section pane and allow you to move the entire rope toward the front or back. If you only select a dot on the end of a rope, only the dot (and not the rope) will be moved forward or backward.
Click the Show/Hide Rope Dots command in the selection pane's toolbar to display the rope dots. If you then rearrange the rope or dots, the items will move together.
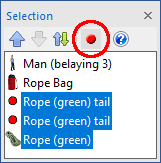
Optionally, you can change the drawing order of individual segments of rope.
It is always better to wait until you have finished designing your system before arranging the gear. Once you manually move gear to the front or back, any new gear you add to the workspace will be added in front of the existing gear and vRigger will no longer automatically determine the default placement. When in doubt, click the Auto Arrange button to have vRigger automatically arrange the gear, and then, if necessary, use these "arrangement" commands on a few pieces of gear.
Occasionally small fragments of gear will mistakenly be drawn in front of other gear. This usually happens at the location where two pieces of gear connect. Read about image fragmentation.
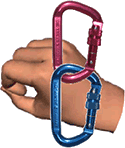
When gear is connected to other gear, both items should be moved forward/backward together. In this next illustration, it would not make sense to move one of the carabiners behind the hand while leaving the other carabiner in front. If we did, the carabiners would have to pass through the hand.
Watch a video that shows how to change the drawing order of gear.