This also applies to cable, chain, and webbing.
Gear that is anchored includes anchors, rocks, trees, tripods, trucks, etc.
A "bight" is a simple loop in a rope that does not cross itself.
A "bend" is a knot that joins two ropes together. Bends can only be attached to the end of a rope.
A "hitch" is a type of knot that must be tied around another object.
"Descending devices" (e.g., ATCs, Brake Bar Racks, Figure 8s, Rescue 8s, etc) create friction as their primary purpose. The friction in descending devices is always considered when calculating forces.
The "Safety Factor" is the ratio between the gear's breaking strength and the maximum load applied to the gear (e.g., 5:1).
Three "shapes" are available in vRigger: a line, an ellipse (aka a circle), and a box. They are added to the workspace like any other gear, and you can select, move, and rotate the shapes like other gear.

If you hold the Shift key pressed while dragging the corner of a box or ellipse, the shape will be constrained to a square or circle.
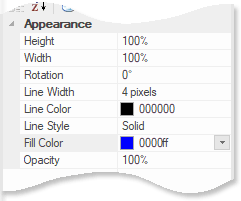
You can modify a shape's properties in the Appearance section of the properties pane. Which properties are available will depend on whether a line, ellipse, or box is selected.

The Line Width field controls the width of the line shape and the width of the line that surrounds the box and ellipse shapes. If you don't want a line around a box or ellipse, set the Line Width to 0. The line width is based on 100% zooming (i.e., a line width of 1 pixel will be one pixel wide at 100% zooming).
The Line Color field controls the color of the lines used in the box, ellipse, and line.
The Line Style field controls whether the line(s) are solid, dotted, or dashed.

The Arrowheads field controls whether there are arrowheads on the end of the line shape. This property is not displayed for boxes and ellipses. (Learn more about arrows.)

The Fill Color field controls the fill color of the box and ellipse. If you don't want the box or ellipse filled will color, set the items Opacity to 0%.
The Opacity field allows you to specify the opacity of the shape's background color. Set it to 0% to make the shape transparent. Learn about the opacity property.
You can use the "line" shape to create the appearance of an edge. In this illustration, a slack point was used to position the rope on the line.

If you have a difficult time selecting a thin "line" shape with your mouse, remember that you can also select gear by pressing the Tab key, by clicking and dragging your mouse on the workspace, and by using the selection pane. You can also first zoom in on the line before clicking on it.
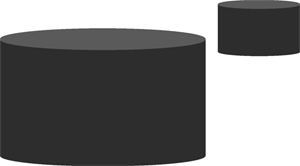
The shapes can also be used to draw other objects, such as storage tanks. These tanks were drawn using two ellipses (for the top and bottom of the tank) and a rectangle (for the front of the tank). A downloadable sample file provides more information on drawing tanks.

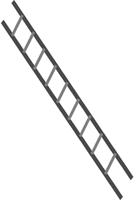
With a little artistic creativity, you can draw all sorts of objects using the shapes, including this ladder. (See the above tip if you can't select a very narrow line using your mouse.)

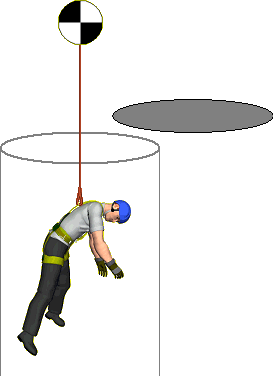
This confined space illustration was drawn using two lines and two ellipses. A downloadable sample file shows how this illustration was drawn.
